Pipe Marking Audit: Is Your Pipe Marking Up To ASME Standards?

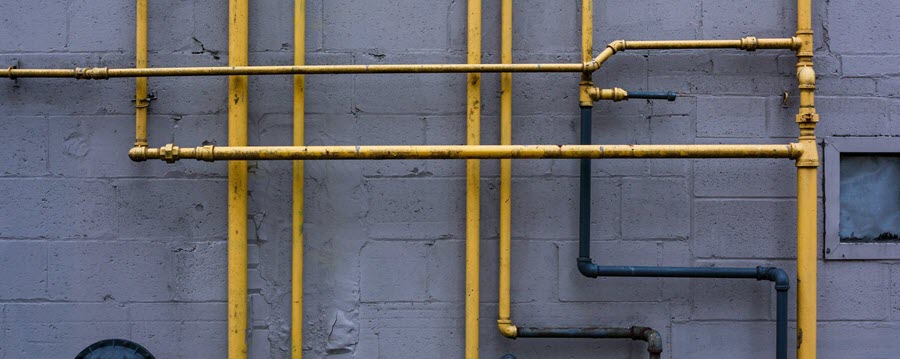
Think about the back room or production floor at your facility. Chances are, the walls are a lattice-work of pipes of different sizes. Now imagine that a worker accidentally breaks one of those pipes with a forklift or opens a valve without meaning to do so. What would happen?
Would the floor be flooded with cool water, or would a hazardous chemical burst forth? Perhaps a highly flammable gas or liquid would leak out, making its way toward an electrical box across the floor. Unless your pipes are clearly marked, you might not know until it’s too late.
Did you know there are established standards for pipe markings? While OSHA has not created its own standards for pipe markings, it does require your business to maintain a safe work environment. To that end, OSHA recommends following the standards established by ASME.
Is your facility meeting ASME standards? Here’s what you need to know to conduct a pipe marking audit at your facility.
What are ASME Pipe Marking Standards?
The purpose of setting standards for pipe marking is to create some level of consistency. An emergency worker or repair technician should be able to recognize the markings on the pipes in your facility as well as any other building they go to.
To keep it simple, the ASME A13.1 standard has established a color-coding system for pipe markers. While these colors do not tell anyone exactly what is in the pipe, they are broken down into categories to help you understand the nature of the fluid flowing through the pipe. Look for these recommended colors as you conduct your pipe marking audit:
- Black on yellow = Flammable
- White on brown = Combustible
- Black on orange = Toxic or corrosive
- White on red = Fire quenching water or other fire-fighting fluids
- White on green = Any other water
- White on blue = Compressed air
- White on purple = Other
- White on black = Other
- Black on white = Other
- White on gray = Other
While there is some room for flexibility with the “other” label colors, the most dangerous or important categories fall under the first six labels.
Marking Contents and Flow Direction
There are other requirements for pipe marking beyond just following the color scheme. Pipe marking labels and stencils are used to further identify pipe contents and flow direction – and should be part of your pipe marking audit. Each label should also:
- Identify the exact contents of the pipe by using its name, abbreviation, chemical symbol or any combination of those items
- Be sized appropriately according to the size of the pipe
- Include an arrow that shows the direction the pipe contents flow
- Be visible from any direct line of approach
- Be placed 25 to 50 feet apart on straight runs
- Be adjacent to any valves or flanges
- Be present on each side of any wall the pipe goes through
The Benefits of Labelling Pipes
You may think that no one in your facility works with the pipes very often, but that’s not a good reason to ignore them. By using a pipe marking system – and conducting pipe marking audits – your company can gain significant benefits with minimal investment. Some potential benefits of a pipe marking system include:
- Improved safety for your employees – Knowing what is in each pipe and which direction it flows can help avoid a tragic mistake.
- Save time for emergency workers – In the event of an emergency, the emergency personnel may need to find water or cut through a pipe for access. Being able to tell at a glance what’s in them can save precious minutes.
- Improved employee efficiency – If your team doesn’t need to go find the building schematics every time they need to deal with a pipe.
- Keep OSHA happy – While OSHA does not require pipe labeling, it does recommend following ASME standards. In the event of an accident, it is always to your company’s benefit to have followed suggested guidelines.
The reality is that pipe marking makes your facility an easier and safer place to work. Shouldn’t that be enough motivation to implement a plan?
Complete a Pipe Marking Audit
Step one to ensuring that your business is up to ASME standards (and thereby OSHA compliant) is to learn those standards. Then, put together a small team from your safety committee (You have one of those, right?) and do a thorough walkthrough of your facility to complete a pipe marking audit. Download our free Pipe-Marking Audit Checklist to guide you through the process.
- Look at all pipes and valves. Do they follow the proper color code?
- Try to spot missing, damaged or dirty valve tags. If no one can read them, they’re not doing any good.
- Look for areas that may need more tags, particularly around valves, flanges, or walls.
- Mark down the exact markers, including color, size and name of material that you need, so you can order new labels and get them in place asap.
Compliancesigns.com carries a full selection of pipe markers and valve tags for chemicals, HVAC, ammonia refrigeration and even medical gasses. You can also create pipe markers with custom text, or we can manufacture custom designs if you should need them.
Your pipes should never be a guessing game. Audit your facility and get those pipes marked!
Pipe Marking Resources:
- Purchase the current A13.1 Scheme for the identification of Piping Systems
- For pipeline safety info, visit the Pipeline and Hazardous Materials Safety Administration
- Review our Pipe Marker Labels and Signs Compliance – Resource Bulletin (pdf)
- Download our Pipe-Marking Audit Checklist (pdf)
- Browse Pipe Labels, Markers, Wraps and Flow Arrows at ComplianceSigns.com

